Ledger.com/Start – Complete Guide to Securely Setting Up Your Ledger Wallet
Starting your cryptocurrency journey begins with security. Ledger.com/Start is the official starting point for initializing your Ledger hardware wallet, whether it’s a Ledger Nano X or Ledger Nano S Plus. This page ensures you follow verified steps, download official software, and set up your device safely.
In this guide, we’ll walk you through everything you need to know about Ledger.com/Start—from preparing your wallet to managing your crypto securely.
What Is Ledger.com/Start?
Ledger.com/Start is the official onboarding portal for Ledger hardware wallets. It provides:
Step-by-step instructions for initializing your device
Secure download links for Ledger Live, Ledger’s official application
Guidance for generating and safely storing your recovery phrase
Verification steps to ensure your wallet is genuine
Using Ledger.com/Start eliminates the risks associated with phishing sites, counterfeit devices, or malware.
Why Start with Ledger.com/Start?
Using unofficial sources to set up your hardware wallet can expose you to serious risks:
Compromised devices or counterfeit wallets
Malware and keyloggers that steal private keys
Phishing websites asking for recovery phrases
Ledger.com/Start ensures you are guided through a secure, verified setup process that keeps your crypto assets safe.
What You Need Before Starting
Before visiting Ledger.com/Start, make sure you have:
A genuine Ledger hardware wallet
USB cable or Bluetooth (for Ledger Nano X)
A computer or smartphone with internet access
A pen and the recovery sheet provided in your package
A secure, private location to set up your wallet
Avoid public computers or shared devices to maintain maximum security.
Step 1: Visit Ledger.com/Start
Type Ledger.com/Start in your browser’s address bar. Double-check the URL to avoid phishing scams. This page will guide you to download Ledger Live, the official app for managing your crypto assets.
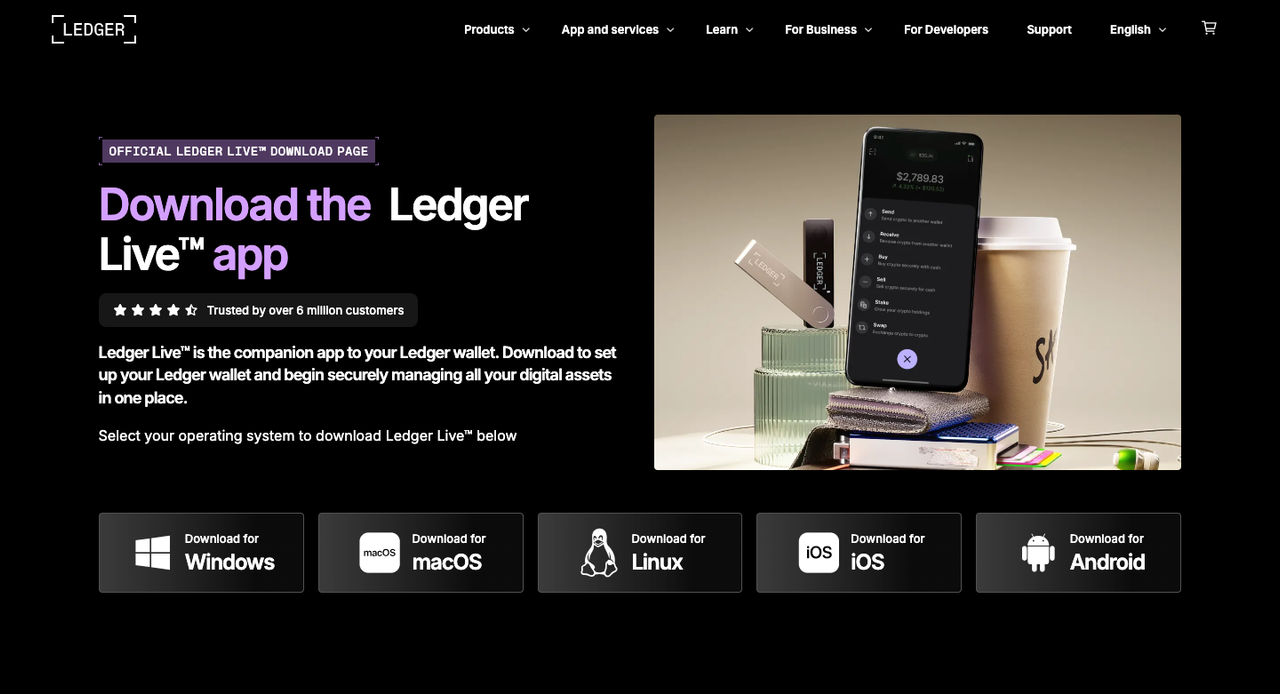
Step 2: Download and Install Ledger Live
Ledger Live is the official software to manage cryptocurrencies on your Ledger device. From Ledger.com/Start:
Choose the version compatible with your operating system (Windows, macOS, Linux, Android, or iOS)
Download the Ledger Live application
Follow on-screen instructions to install
Always download Ledger Live from Ledger.com/Start to verify its authenticity.
Step 3: Connect Your Ledger Device
Connect your Ledger wallet to your computer or mobile device using the provided cable or Bluetooth. Power on the device. Ledger Live will automatically detect your hardware wallet and verify its authenticity to ensure it has not been tampered with.
Step 4: Set Up as a New Device
Select “Set up as new device” on your Ledger. Avoid using pre-initialized wallets from third parties, as this may compromise security. During this step, your device will generate private keys offline, keeping your crypto safe.
Step 5: Create a Secure PIN
Set a PIN code directly on your Ledger device. This PIN prevents unauthorized physical access. Tips for a strong PIN:
Avoid obvious sequences (like 1234 or 0000)
Never share your PIN with anyone
Remember, three wrong attempts will reset the device, enhancing security
Step 6: Record Your Recovery Phrase
Ledger generates a 24-word recovery phrase. This is the only backup for your wallet. If your device is lost or damaged, this phrase allows you to restore your crypto.
Best practices:
Write the words in order on the provided sheet
Never store digitally (screenshots, phone notes, cloud storage)
Never share your recovery phrase
Verify the phrase on your device as instructed
Step 7: Confirm Your Recovery Phrase
Ledger will ask you to confirm your 24-word recovery phrase. This ensures accuracy and that you can restore your wallet in the future. Only proceed once the verification is complete.
Step 8: Install Cryptocurrency Apps in Ledger Live
After setup, open Ledger Live to install apps for supported cryptocurrencies:
Bitcoin, Ethereum, and other major coins
Apps allow Ledger Live to interact with your hardware wallet securely
You can install or remove apps at any time without losing funds
Step 9: Add Accounts and Manage Assets
After installing apps, you can add crypto accounts in Ledger Live:
Receive, send, and monitor balances
Track portfolio performance and transaction history
Access market insights directly through Ledger Live
Ledger Live ensures that private keys never leave the hardware wallet, maintaining maximum security.
Best Practices for Using Ledger.com/Start
Security is ongoing. Follow these tips:
Always access Ledger Live via Ledger.com/Start
Never share your recovery phrase or PIN
Update firmware only through Ledger Live
Verify every transaction on your device screen before approving
Keep your recovery phrase stored offline in a safe place
Ledger support will never ask for your recovery phrase or PIN.
Common Issues and Troubleshooting
Users sometimes encounter issues during setup:
Device not detected
Firmware update delays
USB or Bluetooth connectivity issues
Incorrect recovery phrase entry
Most issues are resolved by restarting Ledger Live, reconnecting the device, updating the app, or using a different USB cable. For persistent problems, consult Ledger’s official support resources.
Why Ledger.com/Start Is Trusted Worldwide
Ledger is a leading global provider of hardware wallets, serving millions of users. Ledger.com/Start ensures every step follows industry-standard security protocols:
Hardware-based offline private key storage
Secure, verified device setup
Physical confirmation for transactions
This combination of hardware and software ensures the safest way to manage crypto.
Final Thoughts on Ledger.com/Start
Ledger.com/Start is more than a setup page—it’s the foundation of your crypto security. Following verified instructions, using official Ledger Live software, and safely storing your recovery phrase ensures complete control over your digital assets.